

How to design a yard from a photo, step by step
Take one good photo, set the scale, place plants that fit and watch them grow. A step-by-step guide using the free VisionScaper Designer.
Written by the VisionScaper team. Last reviewed 15 October 2026.
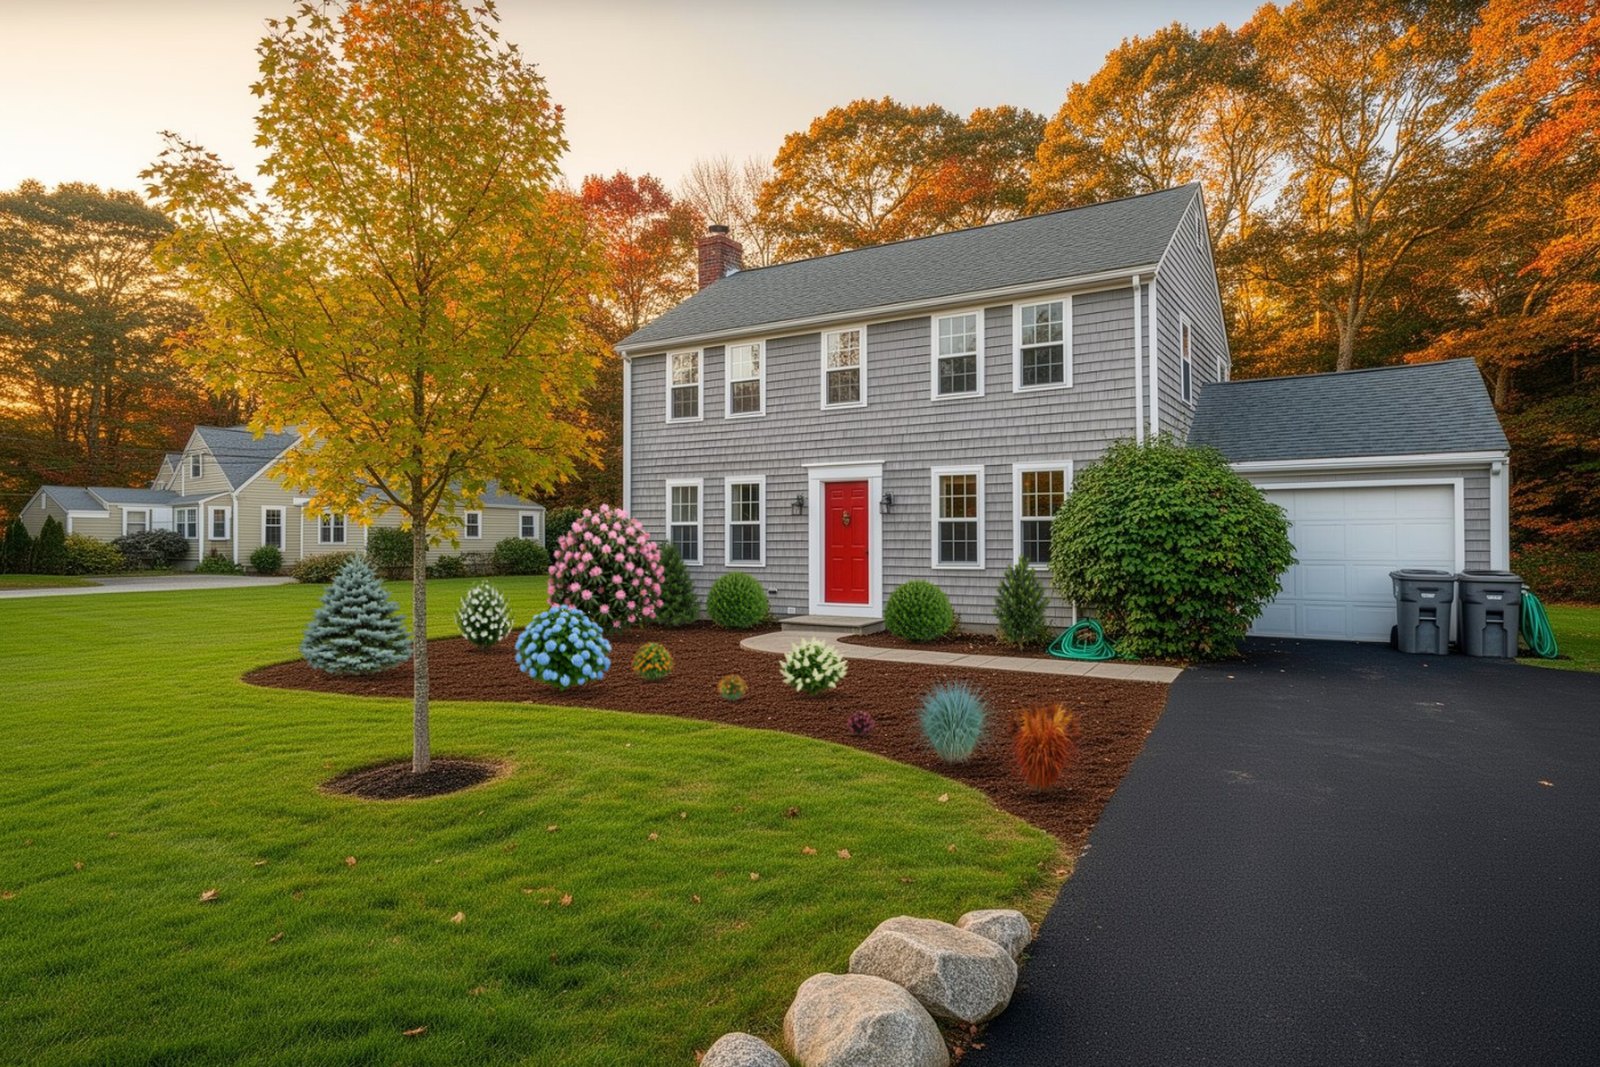
Why start from a photo of your own yard
A design on your own photo shows what your house, your light and your lawn will look like with changes, not a generic backyard. It also catches problems early: a shrub that would cover a window, a bed that is too narrow for what you picked.
This guide uses VisionScaper’s Designer, which you can open without signing up. Designs are saved on your own device in your browser. The plant library covers East Coast plants, so check the plant’s fact sheet for your area.
Step by step: from photo to picture
- Take a photo that works Tap Design my yard, then Take a photo. Stand back so the whole area and some of the house fit, hold the phone sideways at eye level and keep it level. The camera has corner marks and an Eye level line. The built-in guide suggests a bright overcast day, or the sun behind you. Clear hoses and bins if you can. Or use Upload a photo (JPG or PNG).
- Or start from above Bird’s-eye view shows aerial imagery of a US address. It is already to scale, so it suits bed sizes, patios and walkways. A Sample yard is a practice photo with scale set.
- Name it and say what matters Give the design a name and optionally tap goals such as Low maintenance, Privacy, Color all season, Curb appeal, Kid & pet friendly or Native plants, then Open the designer.
- Set the scale Scale makes a 6-foot shrub look 6 feet tall. Tap Set it up for me. The Designer finds eye level, may spot a door or garage door and ask you to confirm, and shows three yellow people who are all 6 feet tall. If they look too big or small, tap to adjust, then They look right — add plants. For more precision use Measure something yourself and tap the bottom and top of a door or fence.
- Choose plants that fit the space Open a plant’s fact sheet and compare Mature size with your space, then check Light and Hardiness zones. A 15-foot-wide shrub will not fit a 4-foot bed. Tap Place in my yard, then tap the photo where the base should sit.
- Add mulch, stone or lawn Under Add, Mulch, stone & lawn paints a ground material with a brush, or Add a bed, lawn, patio or path opens a guided wizard. For clean shapes, Draw beds, patios and edging works better than freehand.
- Watch it grow Drag See it grow under the picture, or press Play. Plants are drawn at nursery size when planted and grow along their own curves. Press Fully grown to see the end result.
- Check seasons and night Pick Spring, Summer, Fall or Winter, or Peak look. Winter shows bare branches on deciduous plants. The moon button shows night lighting for features like fire pits and lights.
- Save, print or send The Designer saves for you. Under More, choose Save a picture, Print, or Share. If a contractor has turned it on, a Get a quote button sends your finished design to them.
Photo tips that make the biggest difference
- Show the ground. Mulch, lawn and stone need visible ground to sit on, so do not let a car or fence hide the area.
- Include the house. A door gives the scale step something to measure against.
- One photo per angle. Use Add view to put front walk and back patio in the same design.
- Straighten if needed. The Crop tab can straighten a tilted picture and makes a new view, leaving the original alone.
- Fix dark photos. Adjust has presets such as Overcast fix and Golden hour.
Planning plant spacing before you buy
Plants are drawn at the size you would buy them, such as a 1-gallon or 5-gallon, and grow from there. Use See it grow to check spacing at maturity and whether a plant will crowd a window or path. Place bigger plants farther back and smaller ones toward the front. The note “In your zone” is information only; it never blocks you from placing a plant.
The fact sheet also shows a growth chart of height and width from planting, so you can compare it with the slider.
What the result is and is not
A design on a photo is a picture to plan with and show a contractor. It is not a survey, a grading plan or a construction drawing. Measurements on a photo are estimates marked with ≈; measurements on an aerial view are accurate to the imagery. Check utilities and local rules before digging.
Ready to build? Send the design to a local contractor who uses VisionScaper, or print it and bring it to your own. VisionScaper for homeowners explains how to find one.
Common problems and quick fixes
- Plants look too big or too small. The scale needs a second look. Use Test growth in the Scale tab to plant two sample shrubs, one near and one far.
- Painted mulch looks stretched. Lower the Perspective of painted ground slider.
- The photo will not open. Re-save it as a JPG or PNG.
- Nothing saves. A private browsing window can block storage. Use a normal window.
- A plant at the horizon looks tiny. A spot at or above the blue eye-level line is far away; move it down or accept that it is distant.
Designing on a phone
The Designer works on a phone. If the side panel is hidden, tap the small grip between the picture and the panel to show it. Pinch to zoom and hold Space (on a computer) or use the Pan tool to move around. Taking the photo inside the app also records the phone’s tilt, which helps place the eye-level line without guessing.
Questions about designing a yard from a photo
No. You can design without signing in. Sign in if you want designs saved to your account and available on other devices.
On your device, in your browser. Clearing browser data deletes them. Signed-in designs are also copied to your account.
Use the Adjust tab for light and the Crop tab to straighten. If it still looks wrong, retake it on an overcast day, held level.
Yes. The camera needs a secure (https) page, otherwise your phone’s photo picker opens instead.
The Ask AI tool can plan changes in plain words. See can AI design my yard.
Try it in VisionScaper
Open the Designer with a photo of your own yard and place your first plant in a few minutes.